Pros and cons of salting your fishing bait
As with virtually every other process in the world, fishing bait salting has its pros and cons. And before diving into the pros and cons of salting, it is worth noting that the pros of salting fishing bait largely outweigh the cons of doing so!
a. Advantages of salting fishing bait
- Slightly more likely to get fish to bite
- The bait can be stored on the boat without being damaged
- The bait remains on the fishing hook for a longer time (almost twice!)
- The bait is easier to handle and attach to a fishing hook (no longer slimy!)
b. Disadvantages of salting fishing bait
- Preparation could be time-consuming
- Extra cost of salt
Do you need salted squid bait ready and delivered to you without the hassle of going through the salting process? We sell for reasonable prices! Drop us an e-mail on info@ocealics.com and our representative will aid you with your request.
How to salt fishing bait – The salting process
1. Prepare the ingredients
It is time to start preparing your first salted fishing bait! For starters, you will need the following ingredients:
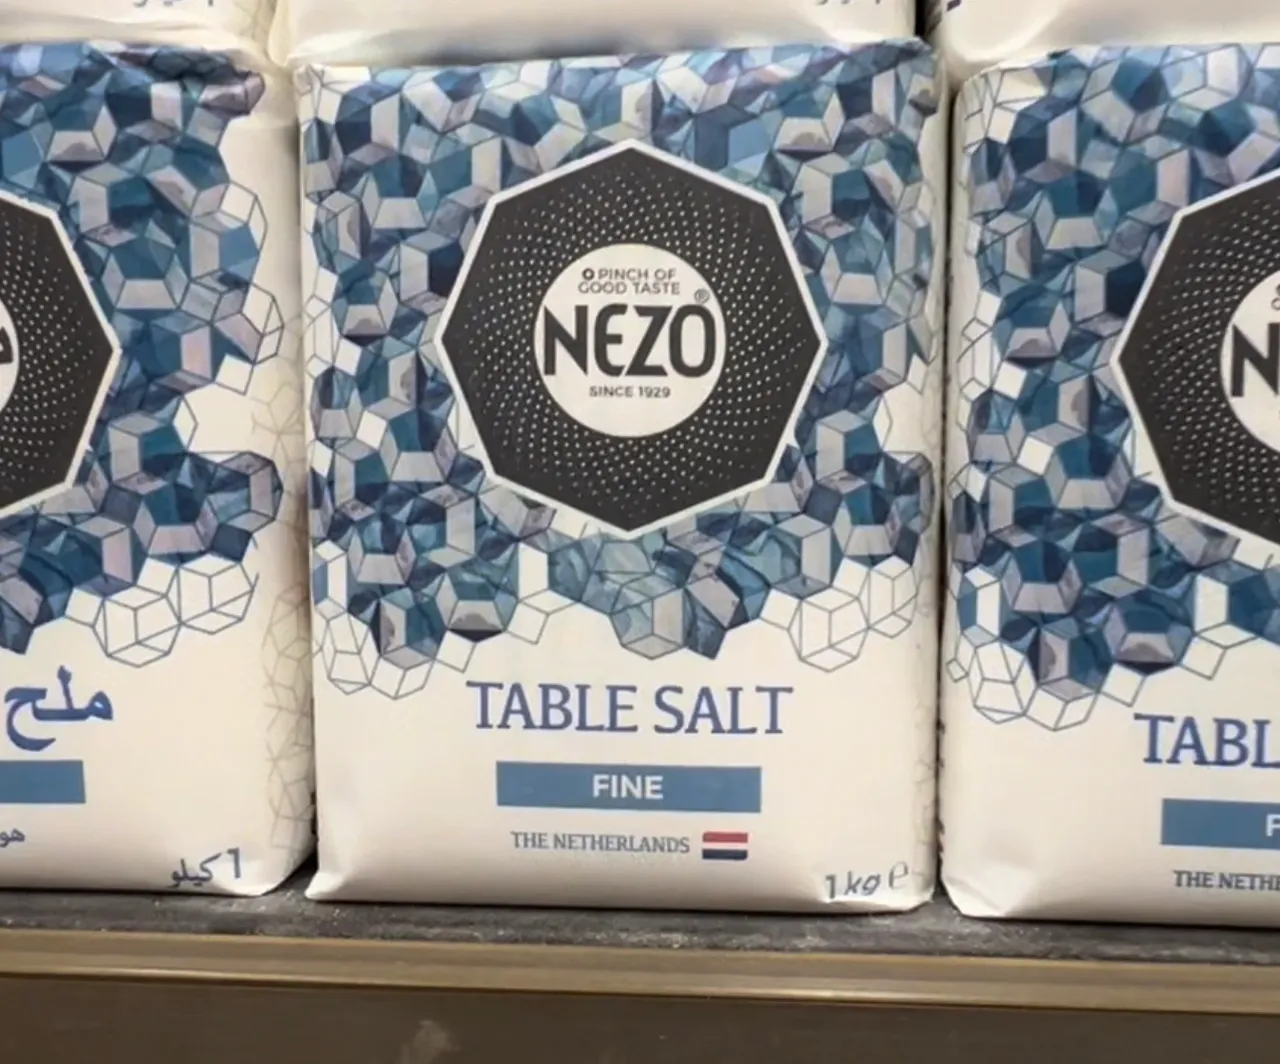
- Non-iodized fine-grain table salt: It is critical that the salt used for salting fishing bait is non-iodized (i.e., does not contain Iodine). While healthier for human consumption against its non-iodized counterpart, iodized sea salt should not be used for salting fishing bait. Something about Iodine tends to make the fish swim away from the bait!
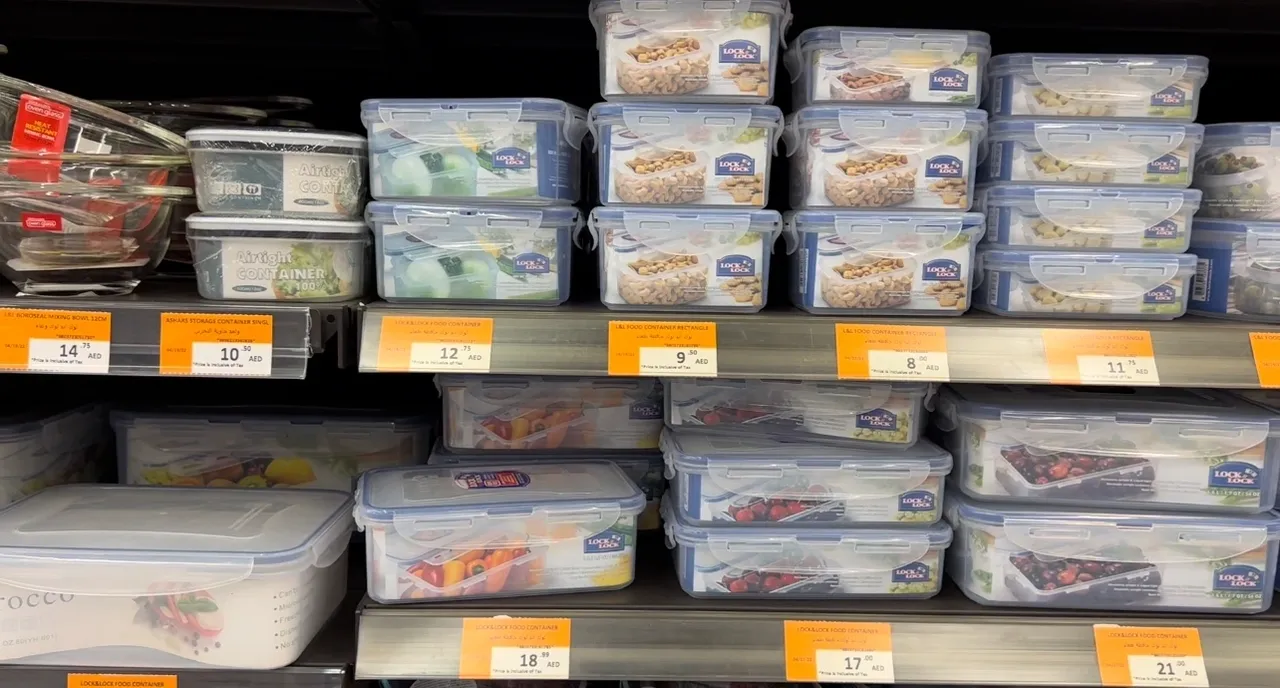
- A plastic or glass box with sufficient dimensions: This will be used as the container for the salted squid (or at this stage, salt and squid). Preferably, the box has to also be deep enough to hold multiple layers of squid, and should have a cover.
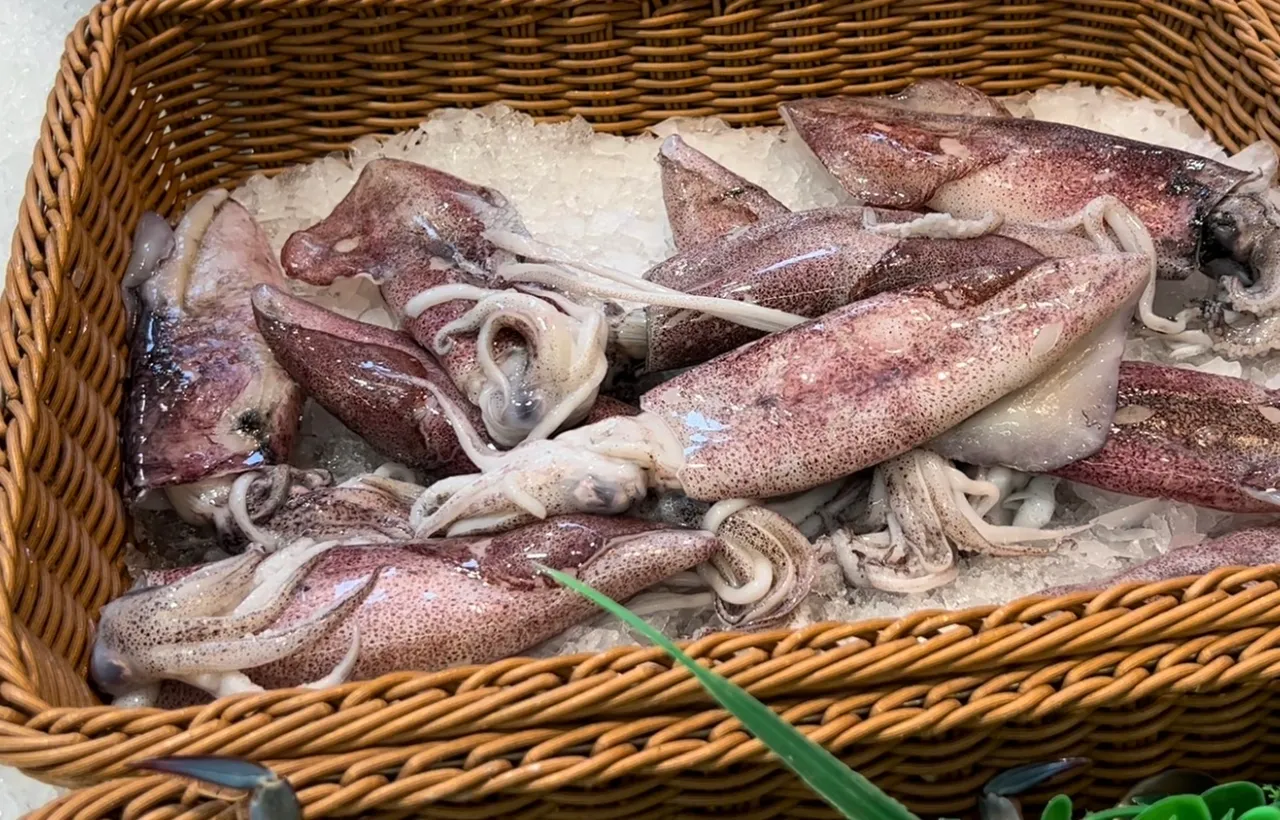
- Natural saltwater fishing bait: For the purposes of this blog, we will be using cut squid with the skin peeled off. Interested in knowing what other fishing bait can be salted? Check out our Top 5 Saltwater Fishing Bait blog!
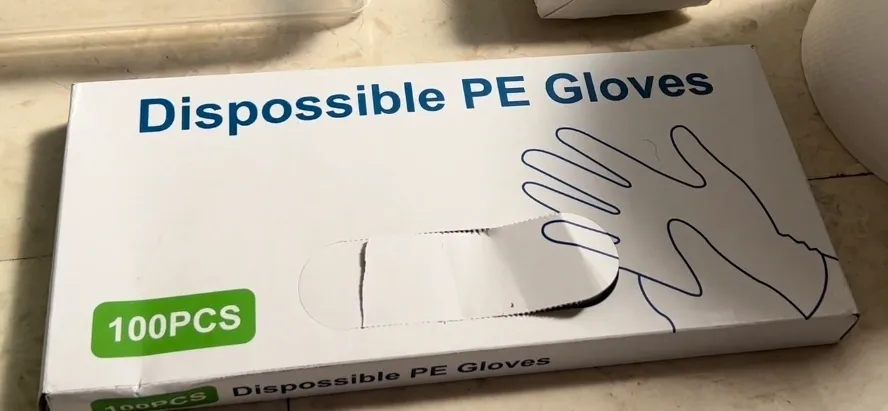
- Gloves: It is advisable to use plastic or cooking gloves, to avoid having the stenchy smell of natural bait stuck to your hands for hours!
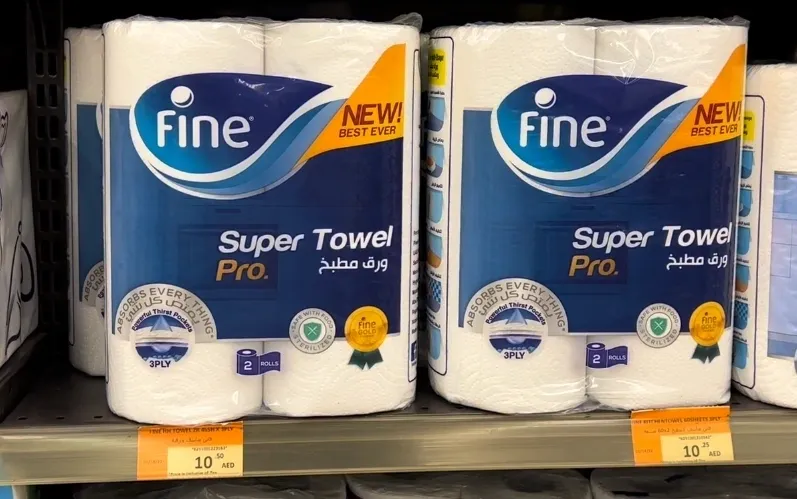
- Highly absorbent kitchen tissue rolls: These can be found in any supermarket! They will be used to dry the fishing bait before salting.
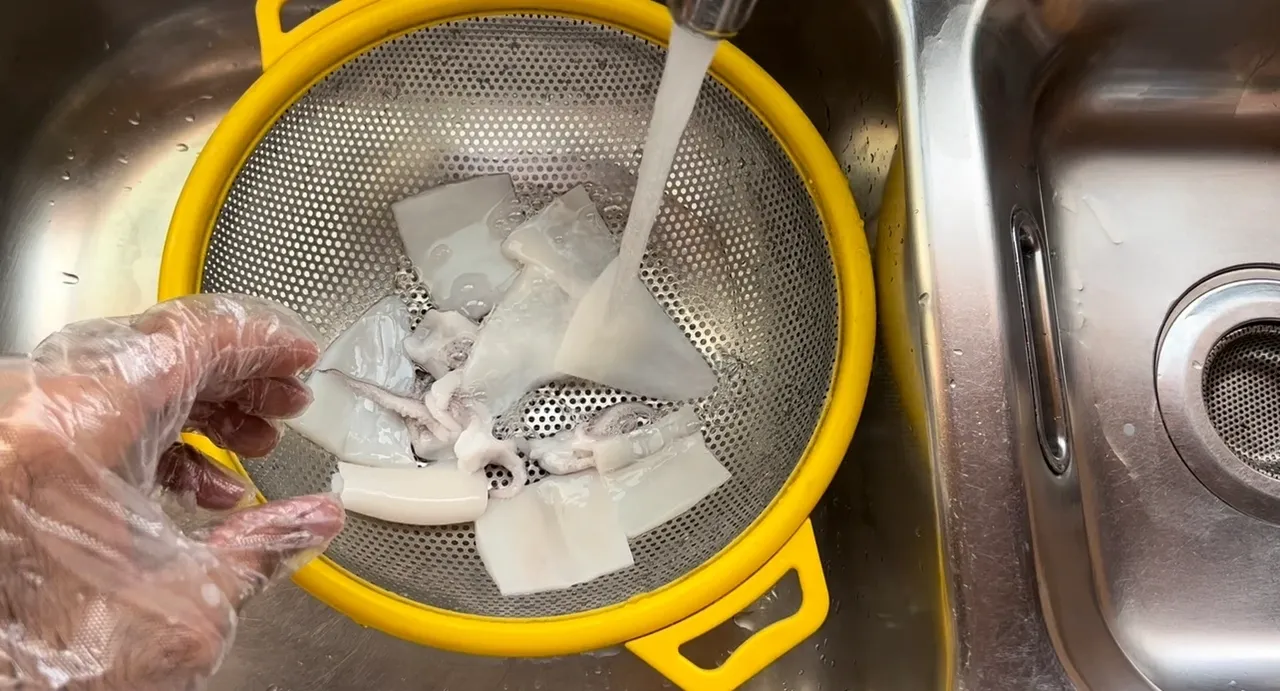
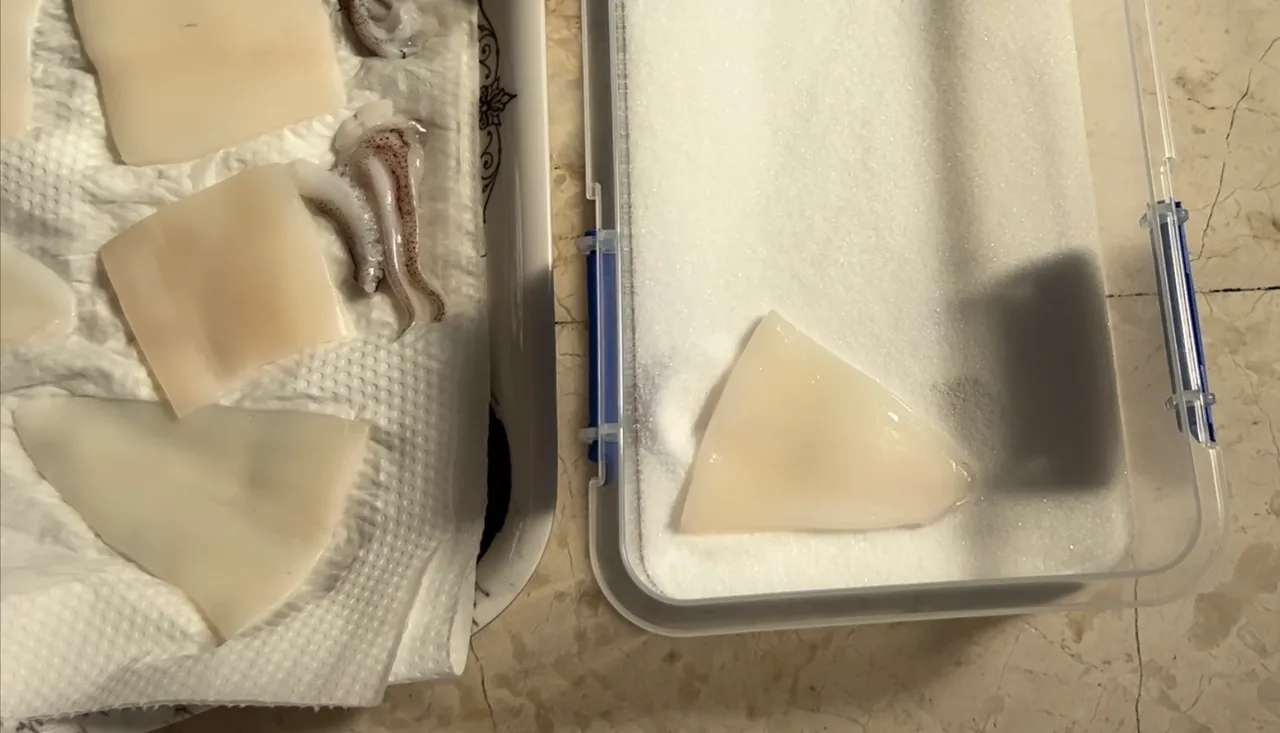
2. Wash the fishing bait
Typically, you would not want to wash fishing bait in order to preserve the attractive scent. However, when salting fishing bait, the slimy material on the surface of the fishing bait could negatively impact the salting process. Hence, it is recommended to wash your fishing bait before prior to salting.
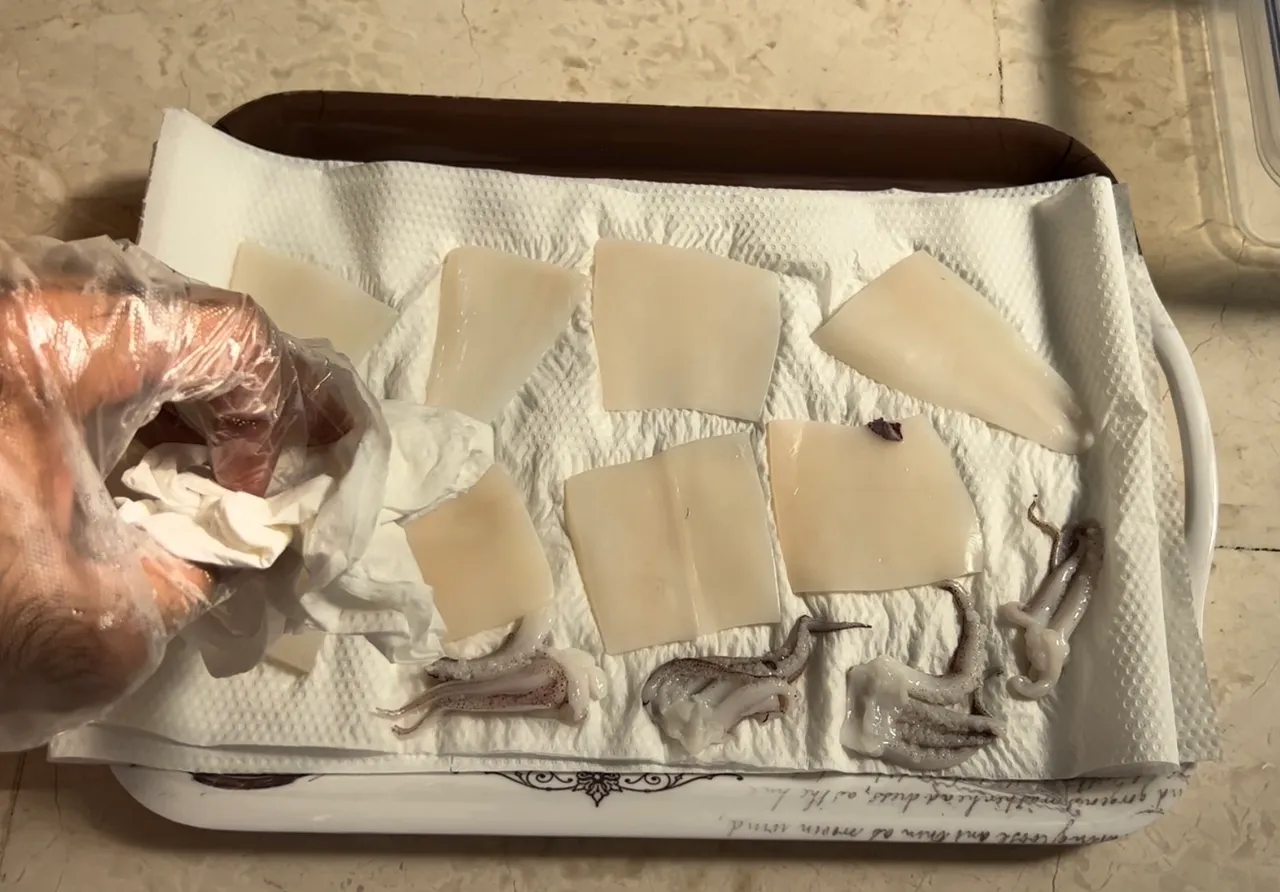
3. Dry the fishing bait
Place the fishing bait on highly absorbent kitchen tissue rolls, and then press on them with the same tissue to reduce the moisture content as much as possible prior to salting.
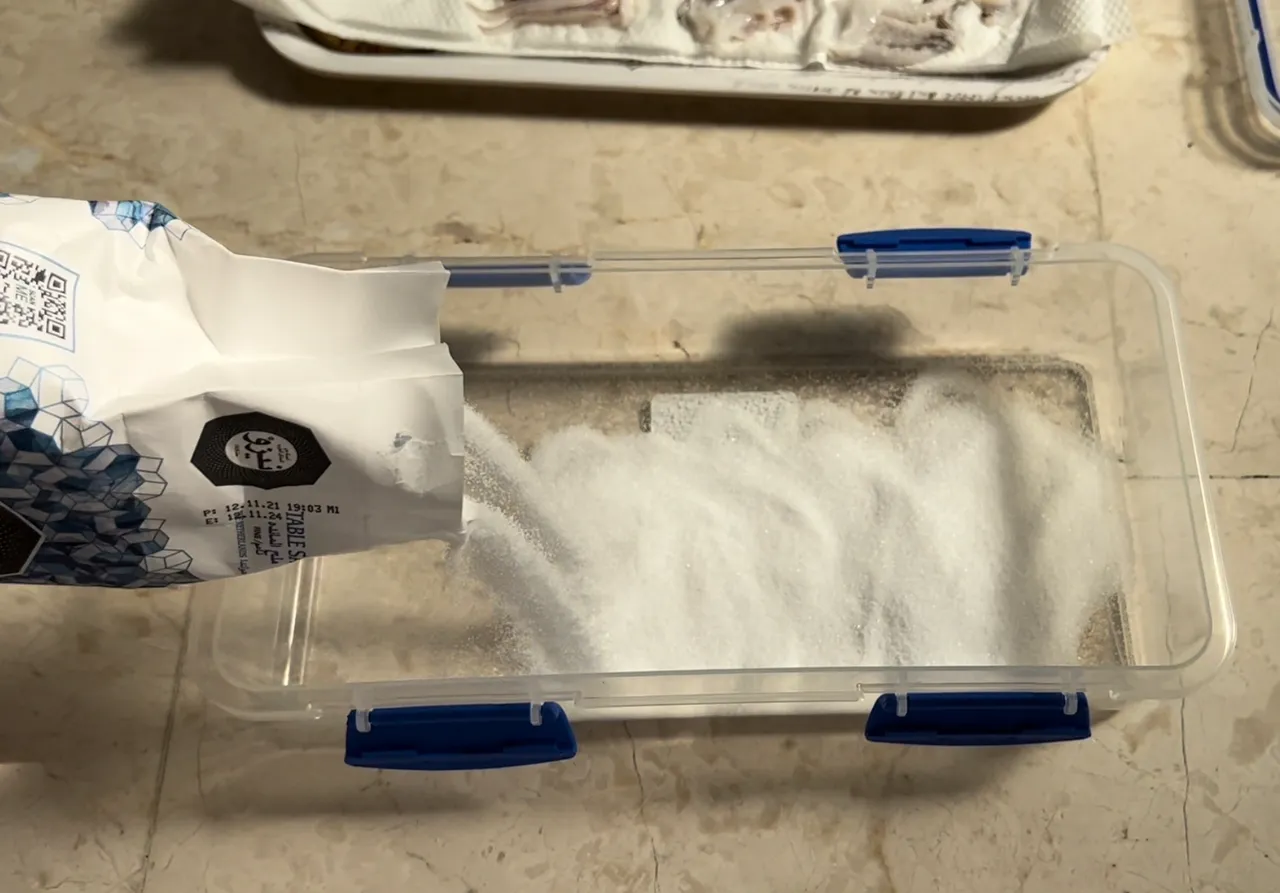
4. Add salt
Add a flat, evenly distributed layer of non-iodized fine-grain table salt to your plastic or glass box.
5. Place fishing bait on salt
Place the tissue-dried bait on the salt, next to each other. Every piece of bait should be visibly separate from the piece of bait next to it. In other words, do not place bait pieces on top of each other, and do not place them in contact with each other. Every piece of bait should have a small distance between it and the next piece of bait.
Do not move the bait after placing it on the salt.
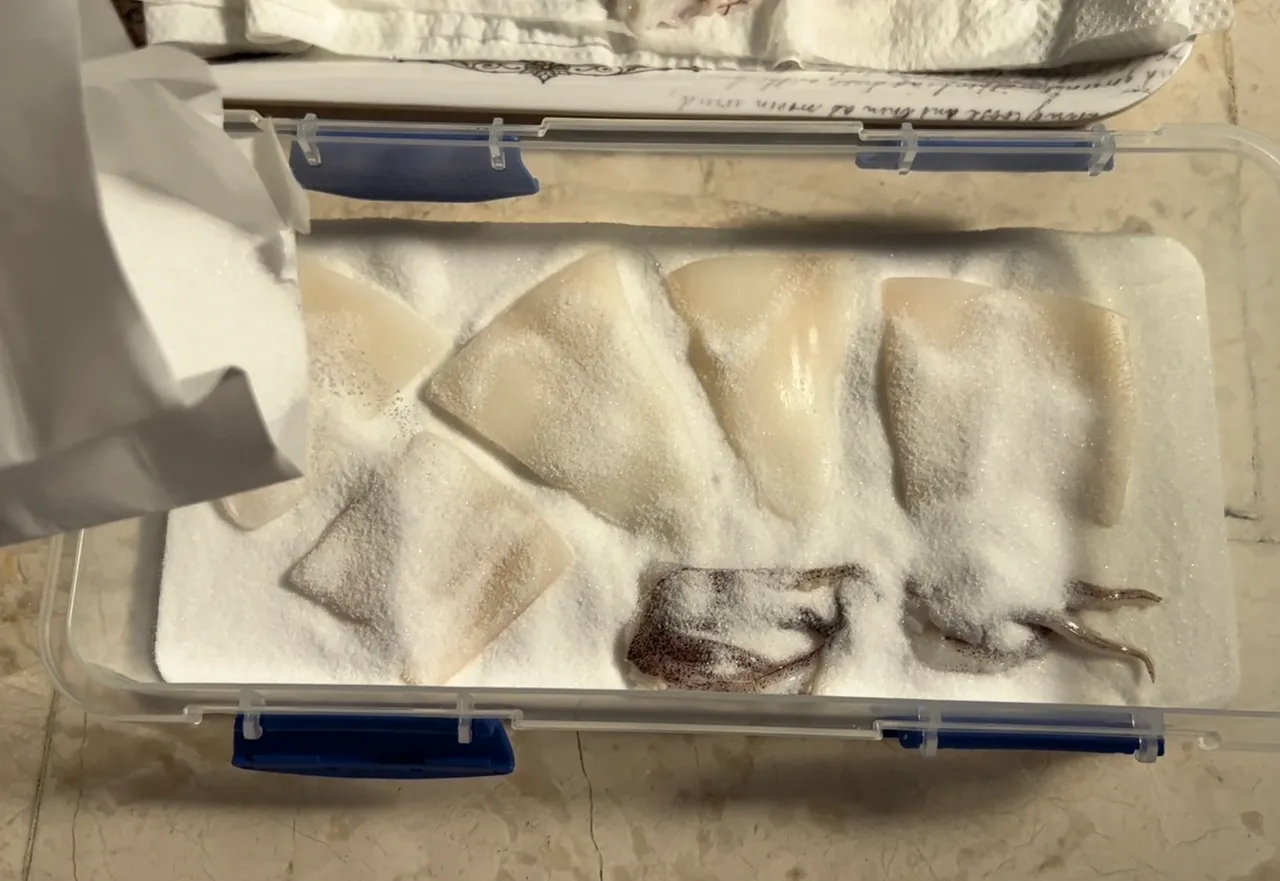
6. Add salt (again)
Add a flat, evenly distributed layer of non-iodized fine-grain table salt to your plastic or glass box on top of the recently added fishing bait to cover it completely.
At this stage, you can either repeat steps 4 and 5, thus creating multiple layers of fishing bait separated with salt, or you can proceed to the next step if you do not wish to add any more fishing bait.
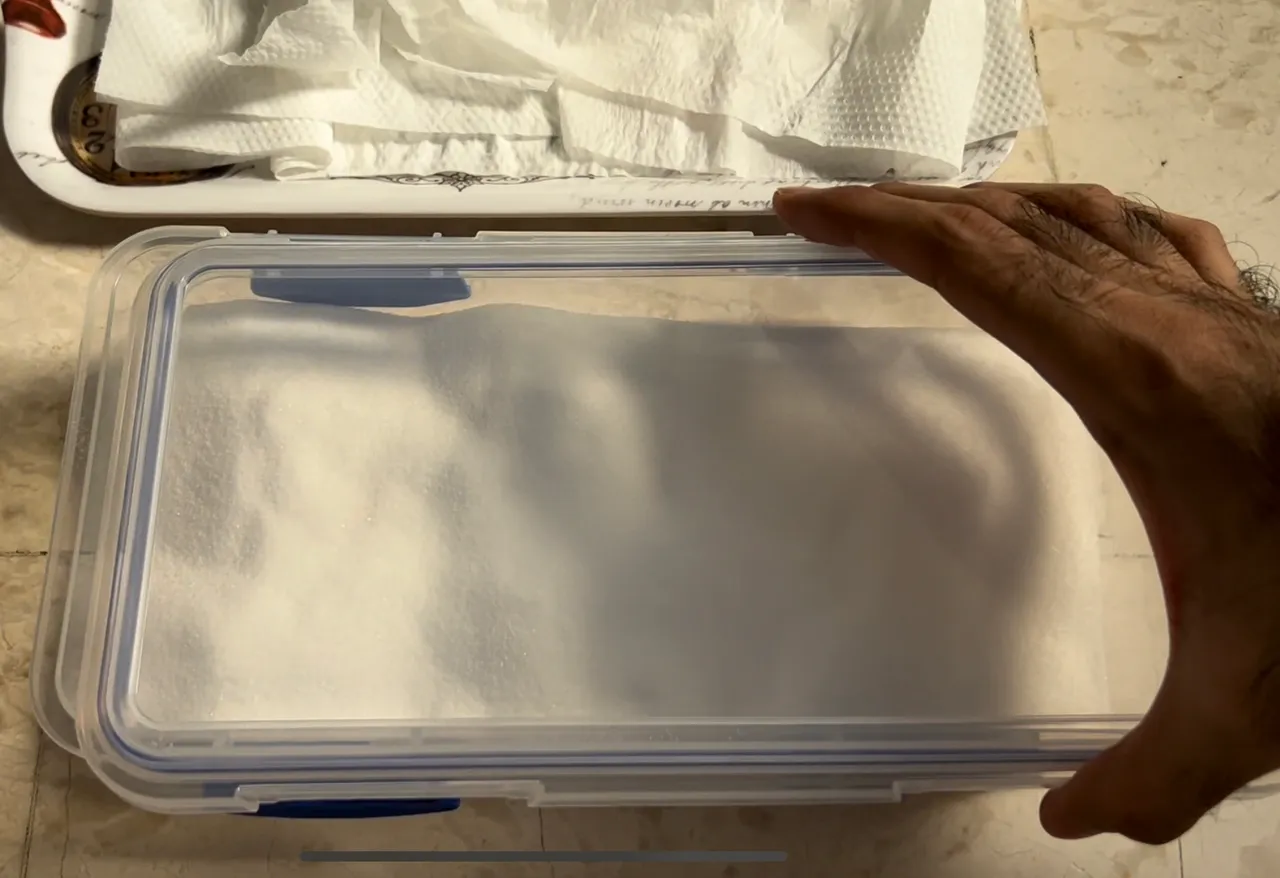
7. Close the box
Close your box with a tight cover and allow to sit in a cool dry place for no less than 24 hours.
8. Open the box and remove the fishing bait
Open the box after 24 hours and remove the squid from the salt. You will notice that the salt is now wet, as the moisture transfers from the fishing bait to the salt. This salt can either be discarded or dried up and re-used for a future batch.
9. Repeat steps 4 to 7
Clean the box of the old salt and repeat steps 4 to 7 using new salt, albeit without the need to wait for 24 hours this time. Moreover, during this step, it is not exactly necessary to place the fishing bait pieces completely separated, and minor overlapping should cause no problems. Your salted fishing bait is now ready to be stored or used, whether for onshore fishing, or offshore deep-sea fishing on a fishing boat!
If you find you still find the process a little challenging or unclear, check out our YouTube video on Salting Fishing Bait by clicking here!
To buy ready salted squid, drop us an e-mail on info@ocealics.com and our representative will aid you with your request.
